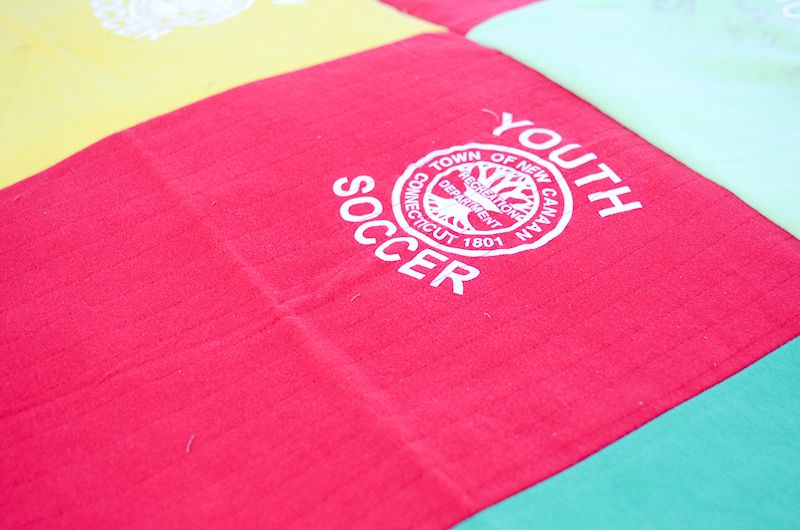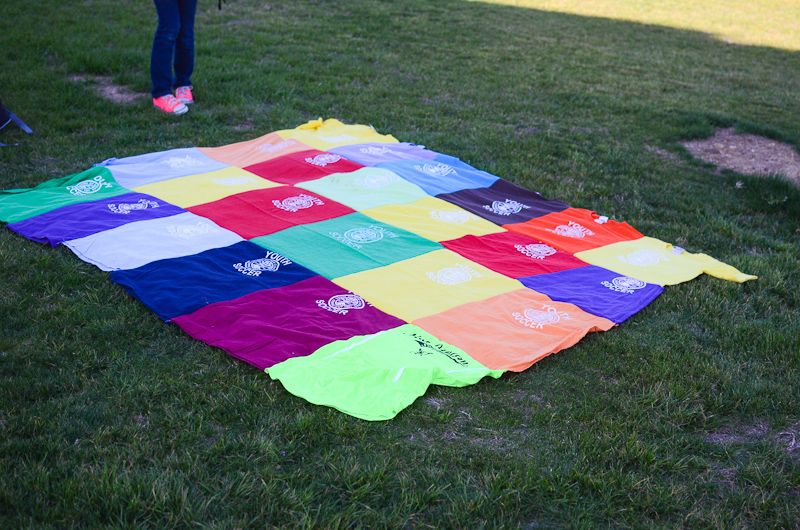
I was excited at first, but by about the sixth shirt I had already spent hours quilting and had gotten nowhere. I put them in a drawer and forgot about them. Then we moved. Then I found them again and try as I may I could not get excited about my original plan. Frankly it would be a lot of time and work for a t-shirt quilt that will REALLY get used at soccer and softball games. It will REALLY get muddy. It will REALLY get washed a lot. And so I decided yesterday to boldly go where no REAL quilter would ever go. So . . . please keep reading only if
1. You don't care about real squares.
2. You don't care about unfinished edges
3. You don't care about mismatched seams
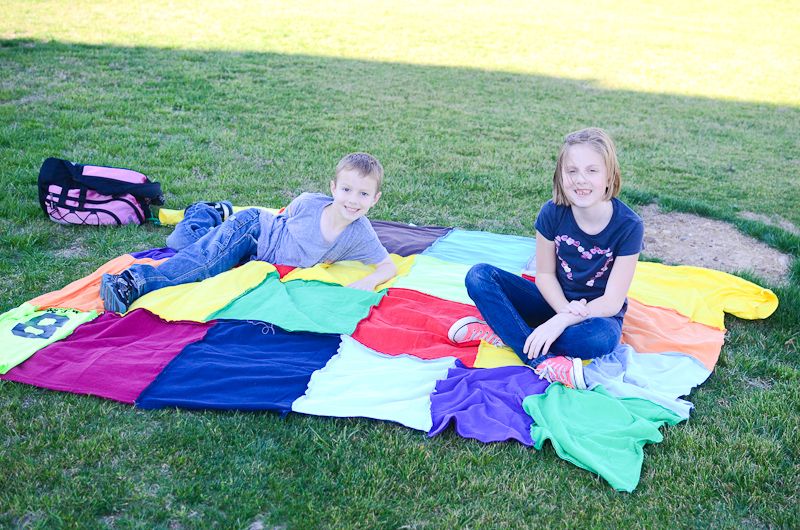
Because while this quilt will not win any awards, I GUARANTEE it will get used. I GUARANTEE it will be noticed. I GUARANTEE it will get talked about. And honestly . . . I love it already!


This may be the quilt for you if you have a lot of t-shirts, you want a quilt, and you want to be done in 1 day. This sloppy method takes into account shirts of different sizes. Here's what I did. I took two shirts and laid them together with the front designs touching each other (right sides together). I tried hard to line up the center of the shirt neckline and the design and then I pinned them together. With a ruler I drew a side seam that was 1/4 inch from whichever sleeve I hit first. Then I sewed the straight line and trimmed off the sleeves. I did this until 6 shirts were connected together. Then I laid them out on the floor and using a cutting mat, rotary cutter, and ruler I trimmed the bottoms of the shirts to be a straight line (which meant I trimmed it to the smallest sized shirt). Then I made a second row. I pinned the first and second rows together and lined up only the middle seam. I repeated for the third and fourth row. When it was all sewn together I decided that I loved the top border to be the actual shirt necklines and I loved the bottom border to be the actual shirt. (translation -- I didn't not like them enough to do anything about it). For the sides I drew a straight line (following the crazy contour of the shirts as they turned out, stitched a long the line and trimmed).
The back is just the raw edges and that is the beauty of t-shirt material is that it won't fray. The kids love it already.

1 comment:
Looks so good! I want to see it up close next time we're together. great job!
Post a Comment